
Two Different Homes. One Common Goal
Every garage makeover is different.
Some projects are driven by lifestyle — like waterfront homes designed around hobbies and experiences. Others are focused on everyday function — creating clean, organized spaces for busy families.
But the goal is always the same:
Create a garage that works for how you live.
Case #1: A Dream Garage in Boca Raton
A Dream Home on the Water
Brett, a successful financial advisor, had a clear vision when he purchased his new home.
He described it as his dream house — a property backing into the 18th Street canal, giving him direct access to the ocean for fishing.
After purchasing the home, he completed a full interior remodel. The garage was the final step in bringing that vision together.
Starting Point: Outdated Garage
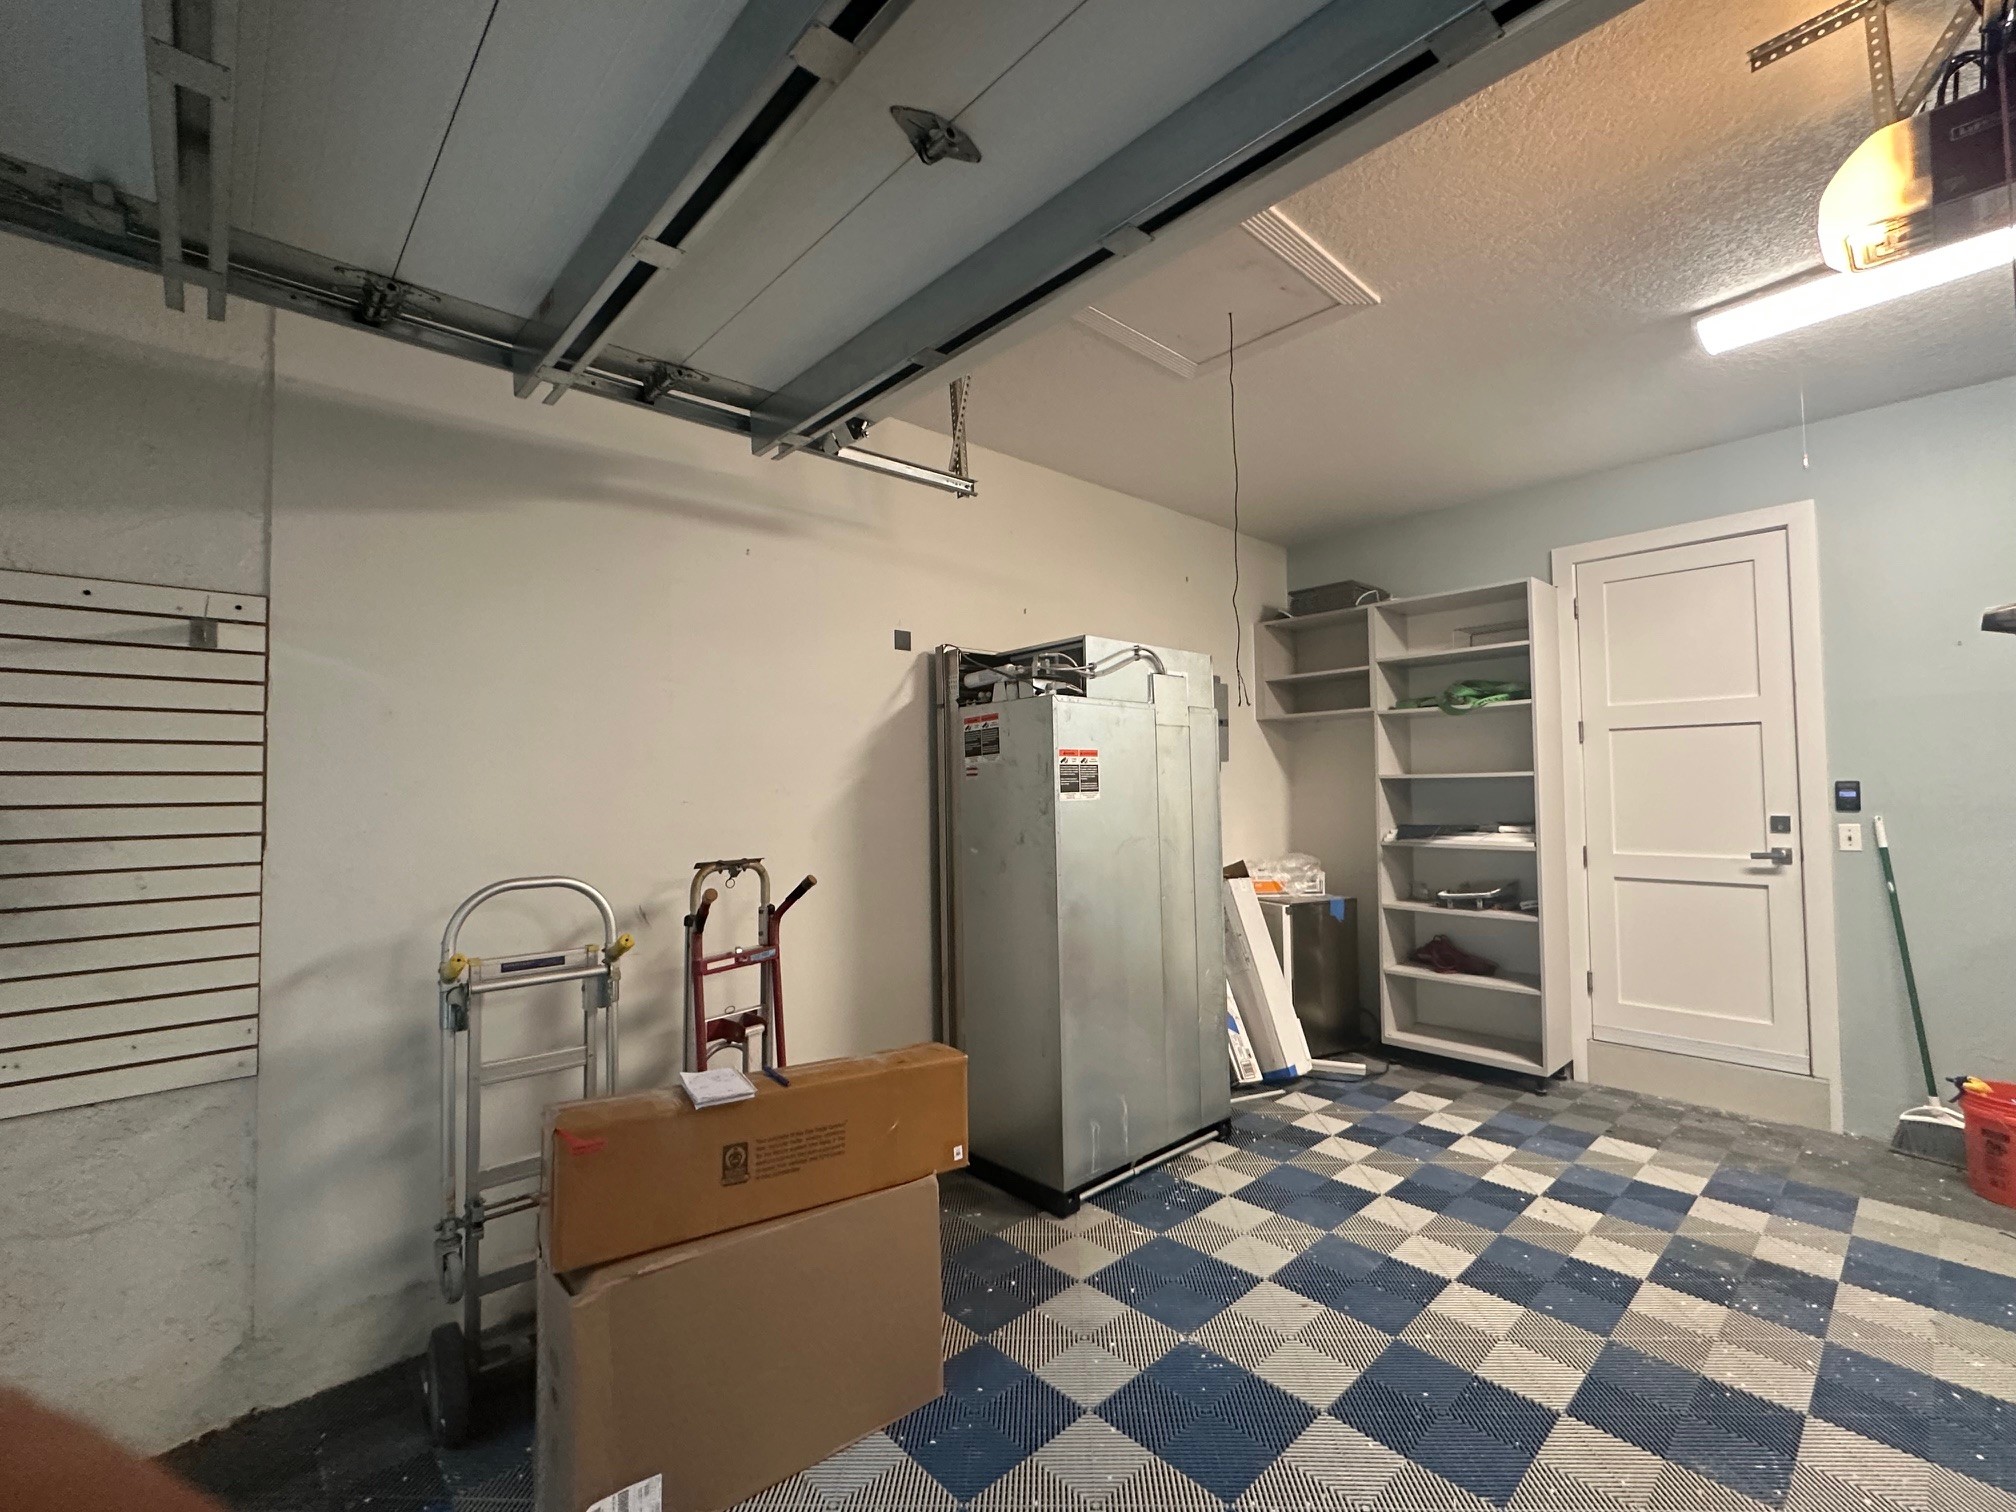
The garage had older cabinets installed along the walls, but they didn’t match the newly renovated home.
In addition, the floor was covered with interlocking tiles, which are common in older garage setups.
In South Florida’s humid environment, these tiles often trap moisture underneath, which can lead to:
- mildew buildup
- unpleasant odors
- a nesting area for insects and bugs
As part of the demolition process, we removed both the existing cabinets and the interlocking tiles to properly prepare the concrete surface.
Designing Around Lifestyle
This garage was designed around two main priorities:
- daily family use
- fishing and outdoor lifestyle
We worked closely with Brett to understand how the space needed to function.
Designing the Right Garage Starts with the Right Process
Our Garage Makeovers design consultant works closely with each homeowner to understand their vision for the space, along with their specific storage needs, layout preferences, and color selections.
We make the process highly interactive. As part of the design phase, we share photos of recent garage makeovers we’ve completed to help visualize what’s possible. We also recommend exploring our Dream Garage Ideas page.
Many homeowners also like to explore design ideas on platforms such as Houzz and Pinterest, where they can gather ideas and refine their preferences.
This collaborative approach ensures that every garage is designed around how the homeowner wants to use the space — resulting in a final outcome that is both functional and visually aligned with their vision.
Project Coordination
Since Brett had already remodeled the interior, he chose to use his painter for the garage.
We coordinated closely to ensure a smooth process:
- demolition of existing cabinets and removal of interlocking tiles
- garage painting
- epoxy polyaspartic flooring installation
- cabinet and storage installation
Step One: The Floor
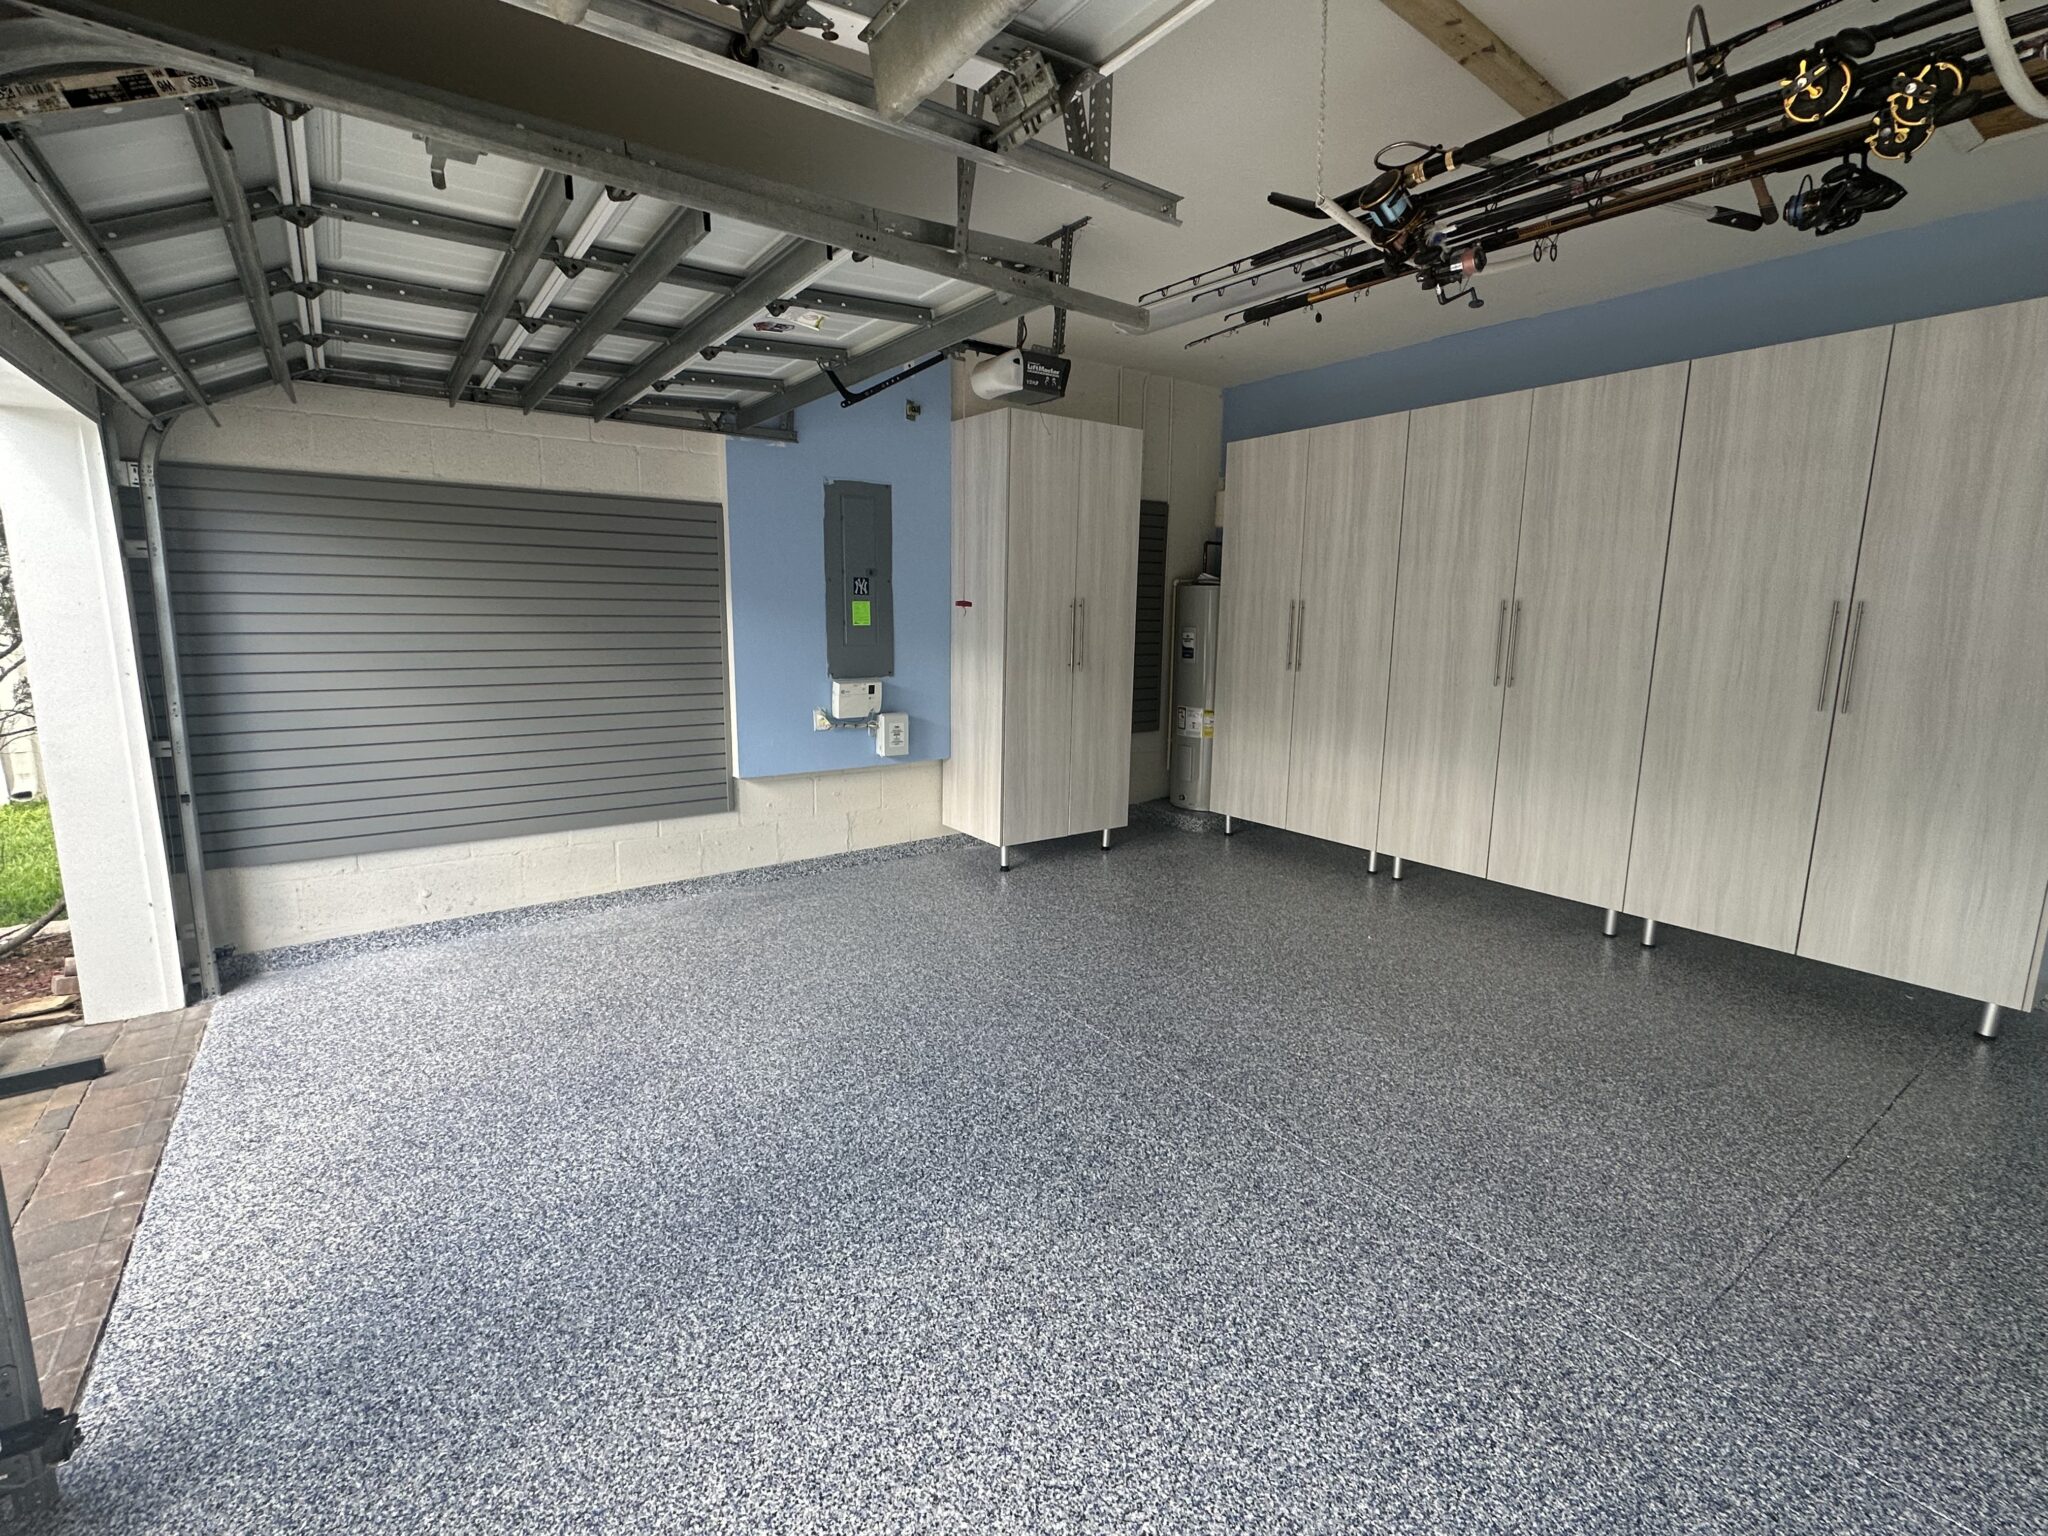
With the concrete properly prepared, we installed an epoxy polyaspartic floor using our Lunar flake finish.
Unlike tile systems, this coating:
- bonds directly to the concrete
- does not trap moisture underneath
- resists mildew, stains, and wear
The lighter tones provide a modern look that contrasts beautifully with the cabinetry.
Key Features of the Garage
Family Entry Drop Zone
- open shoe cabinet
- bench for kids
- slatwall for backpacks
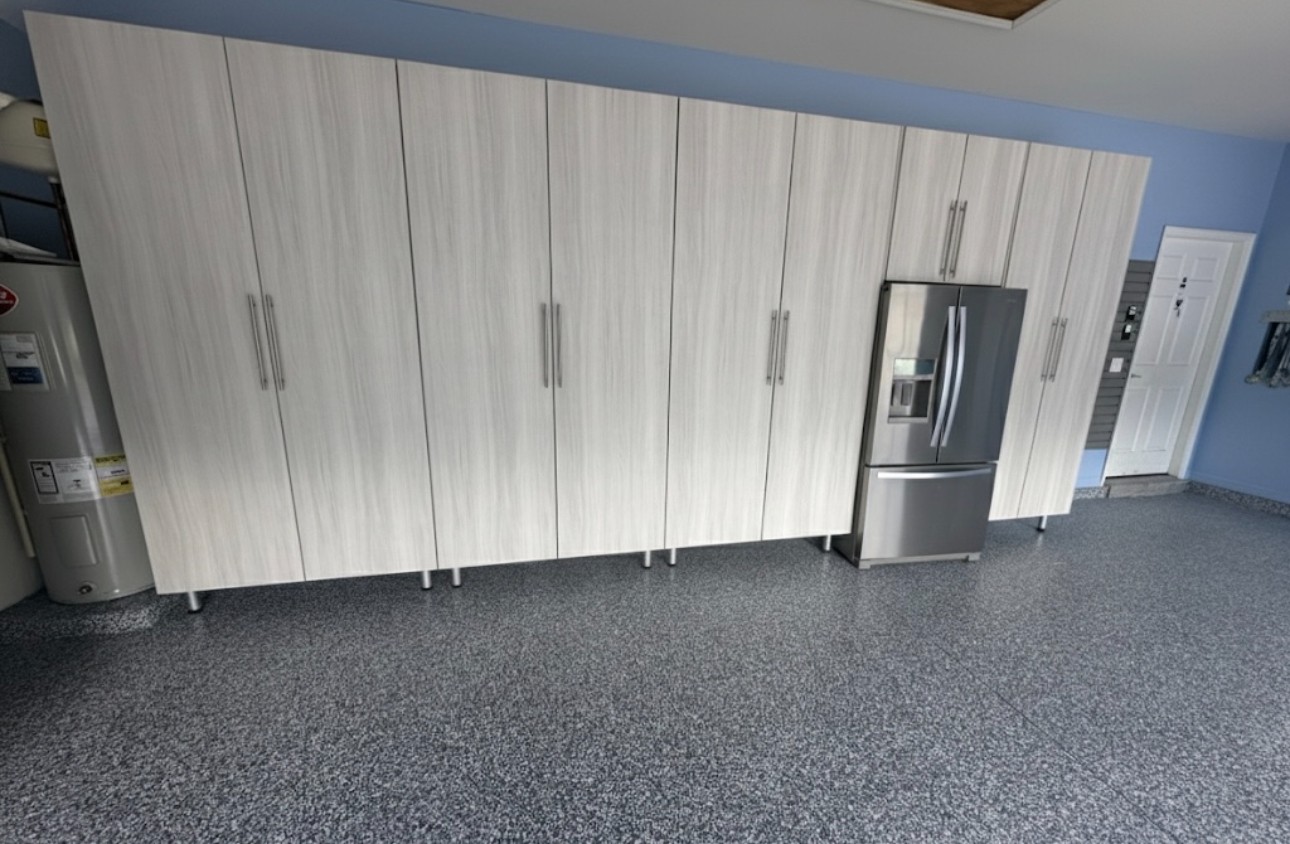
Full Cabinet Wall + Workbench
- full cabinet system
- integrated workbench for fishing gear
- charcoal cabinets with channel pulls
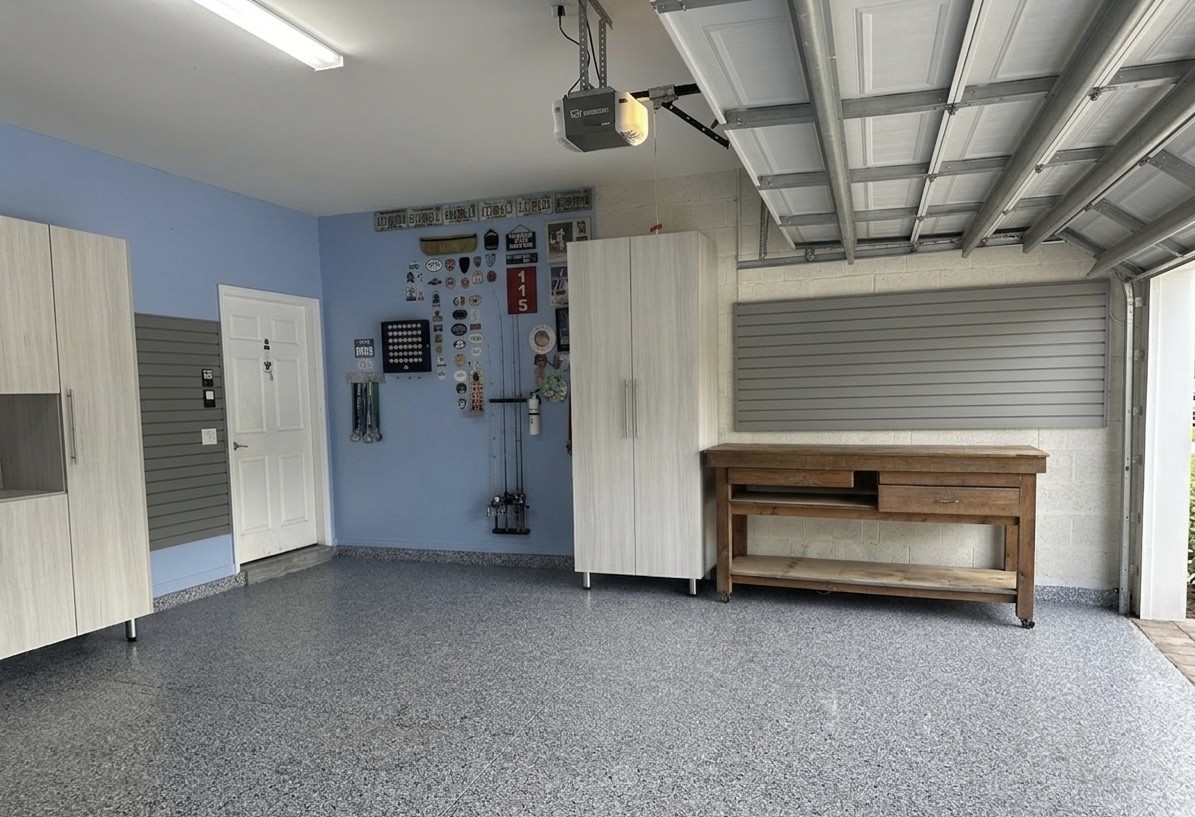
Slatwall Organization
- bikes
- kids’ gear
- fishing rods
Installed using a garage slatwall system to keep everything organized and off the floor.
A Practical Addition: Overhead Storage
While overhead storage is not always included in higher-end designs, Brett specifically requested it.
Having used it in his previous home for holiday and bulky items, it was important to include it again.
We installed overhead garage storage to maintain functionality without sacrificing the clean look.
The Result
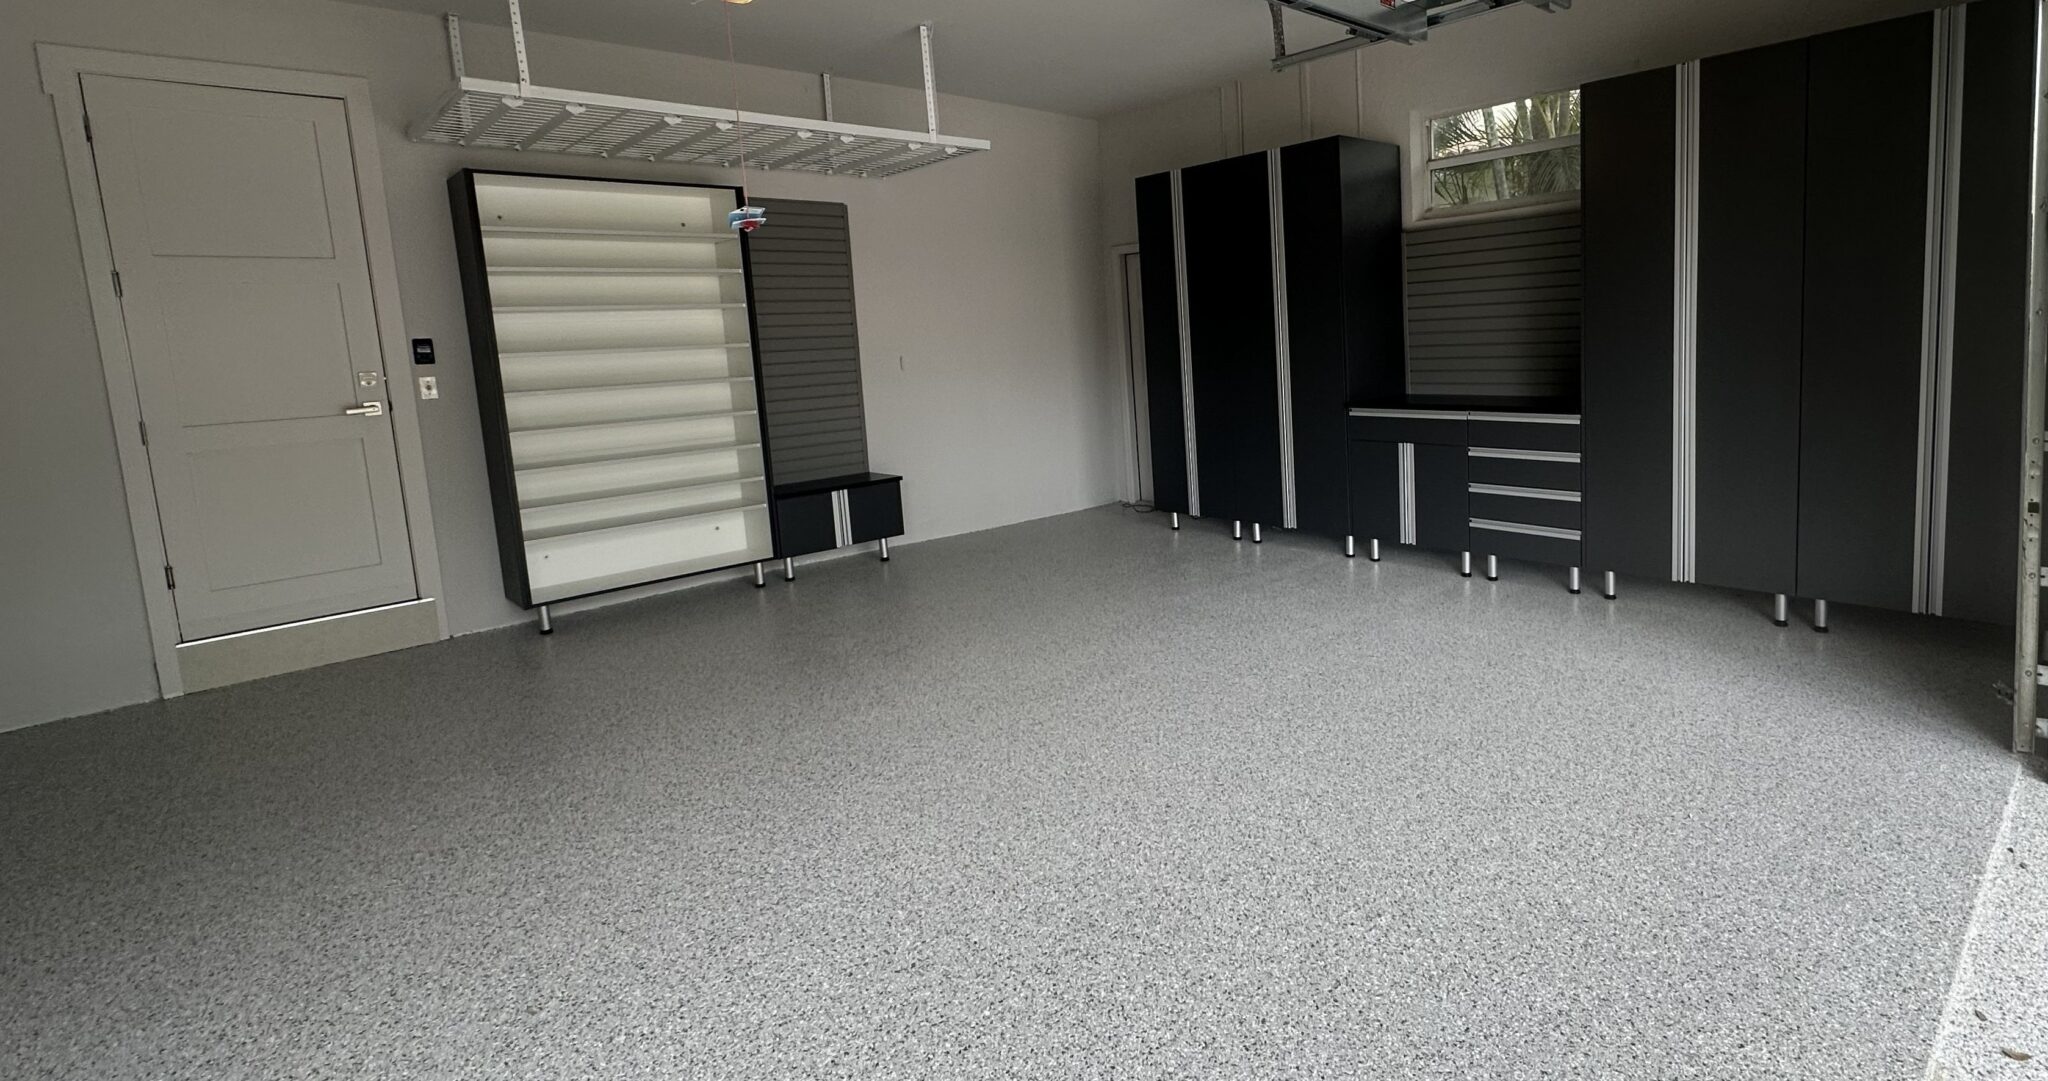
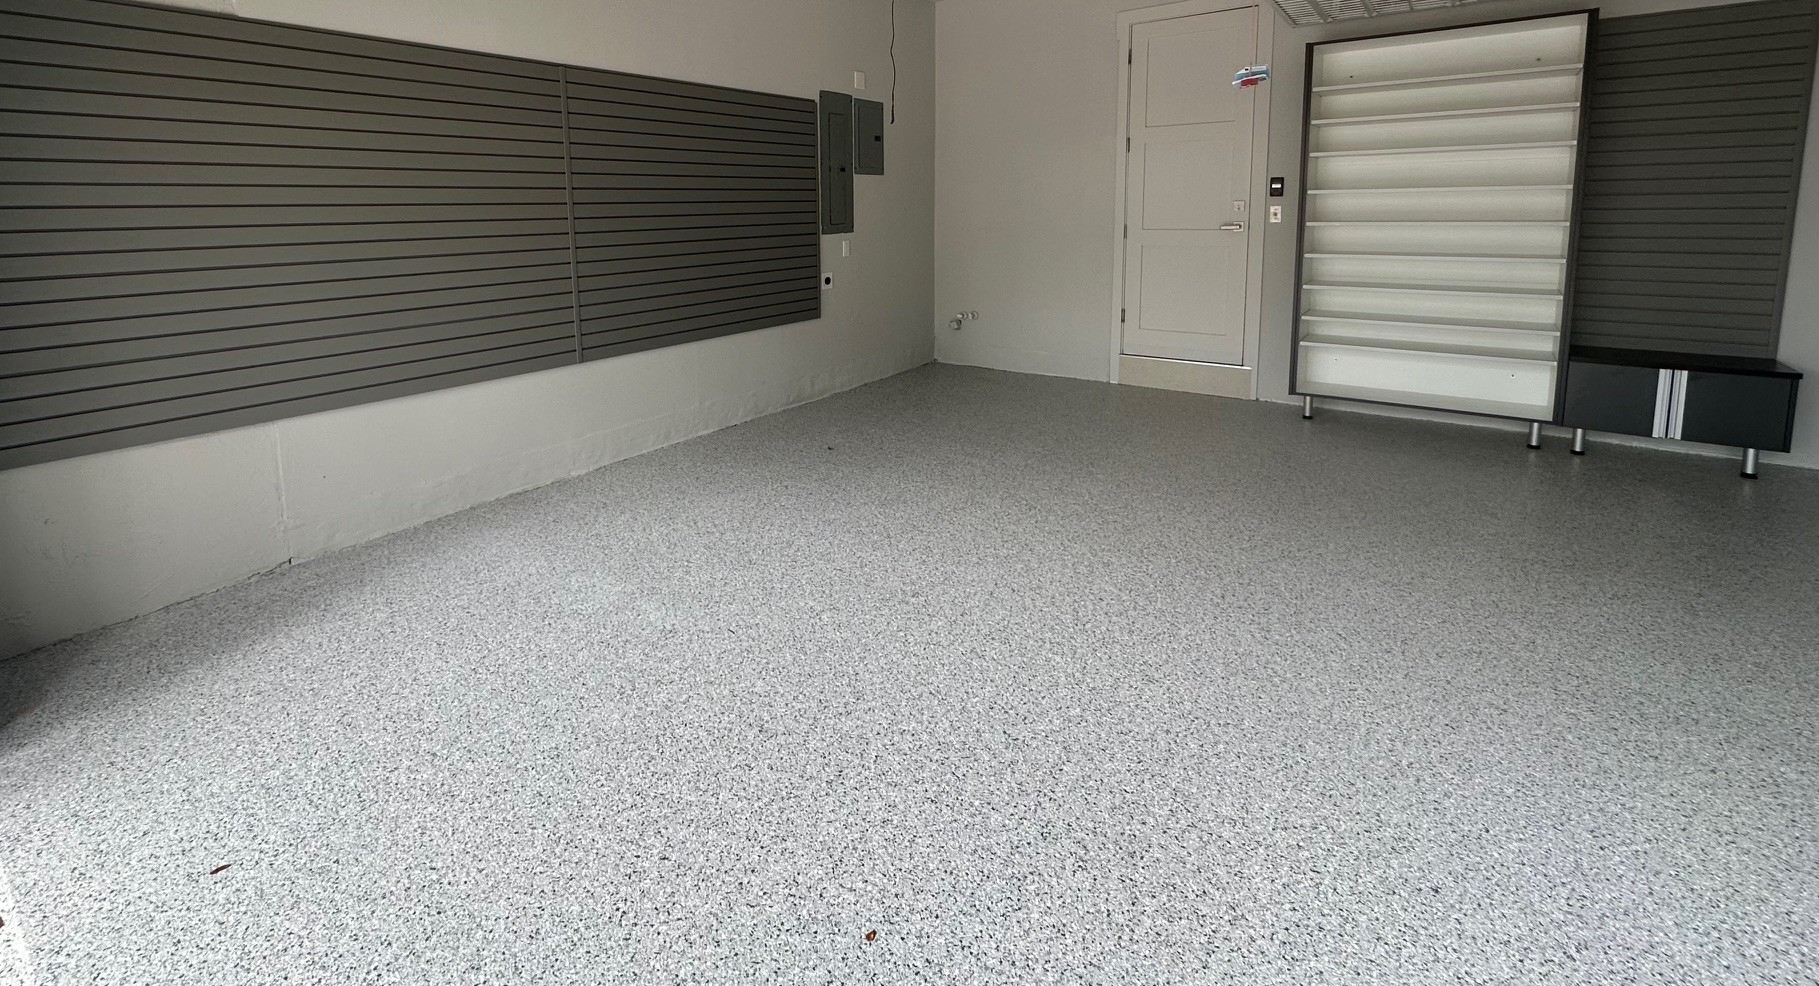

A clean, modern, highly functional garage that completes the home.
Case #2: A Functional Garage Makeover in Lake Worth
A Different Home, A Different Set of Needs
This Lake Worth project was very different.
Franco, a firefighter, needed to transform a cluttered garage into a highly organized and functional space.
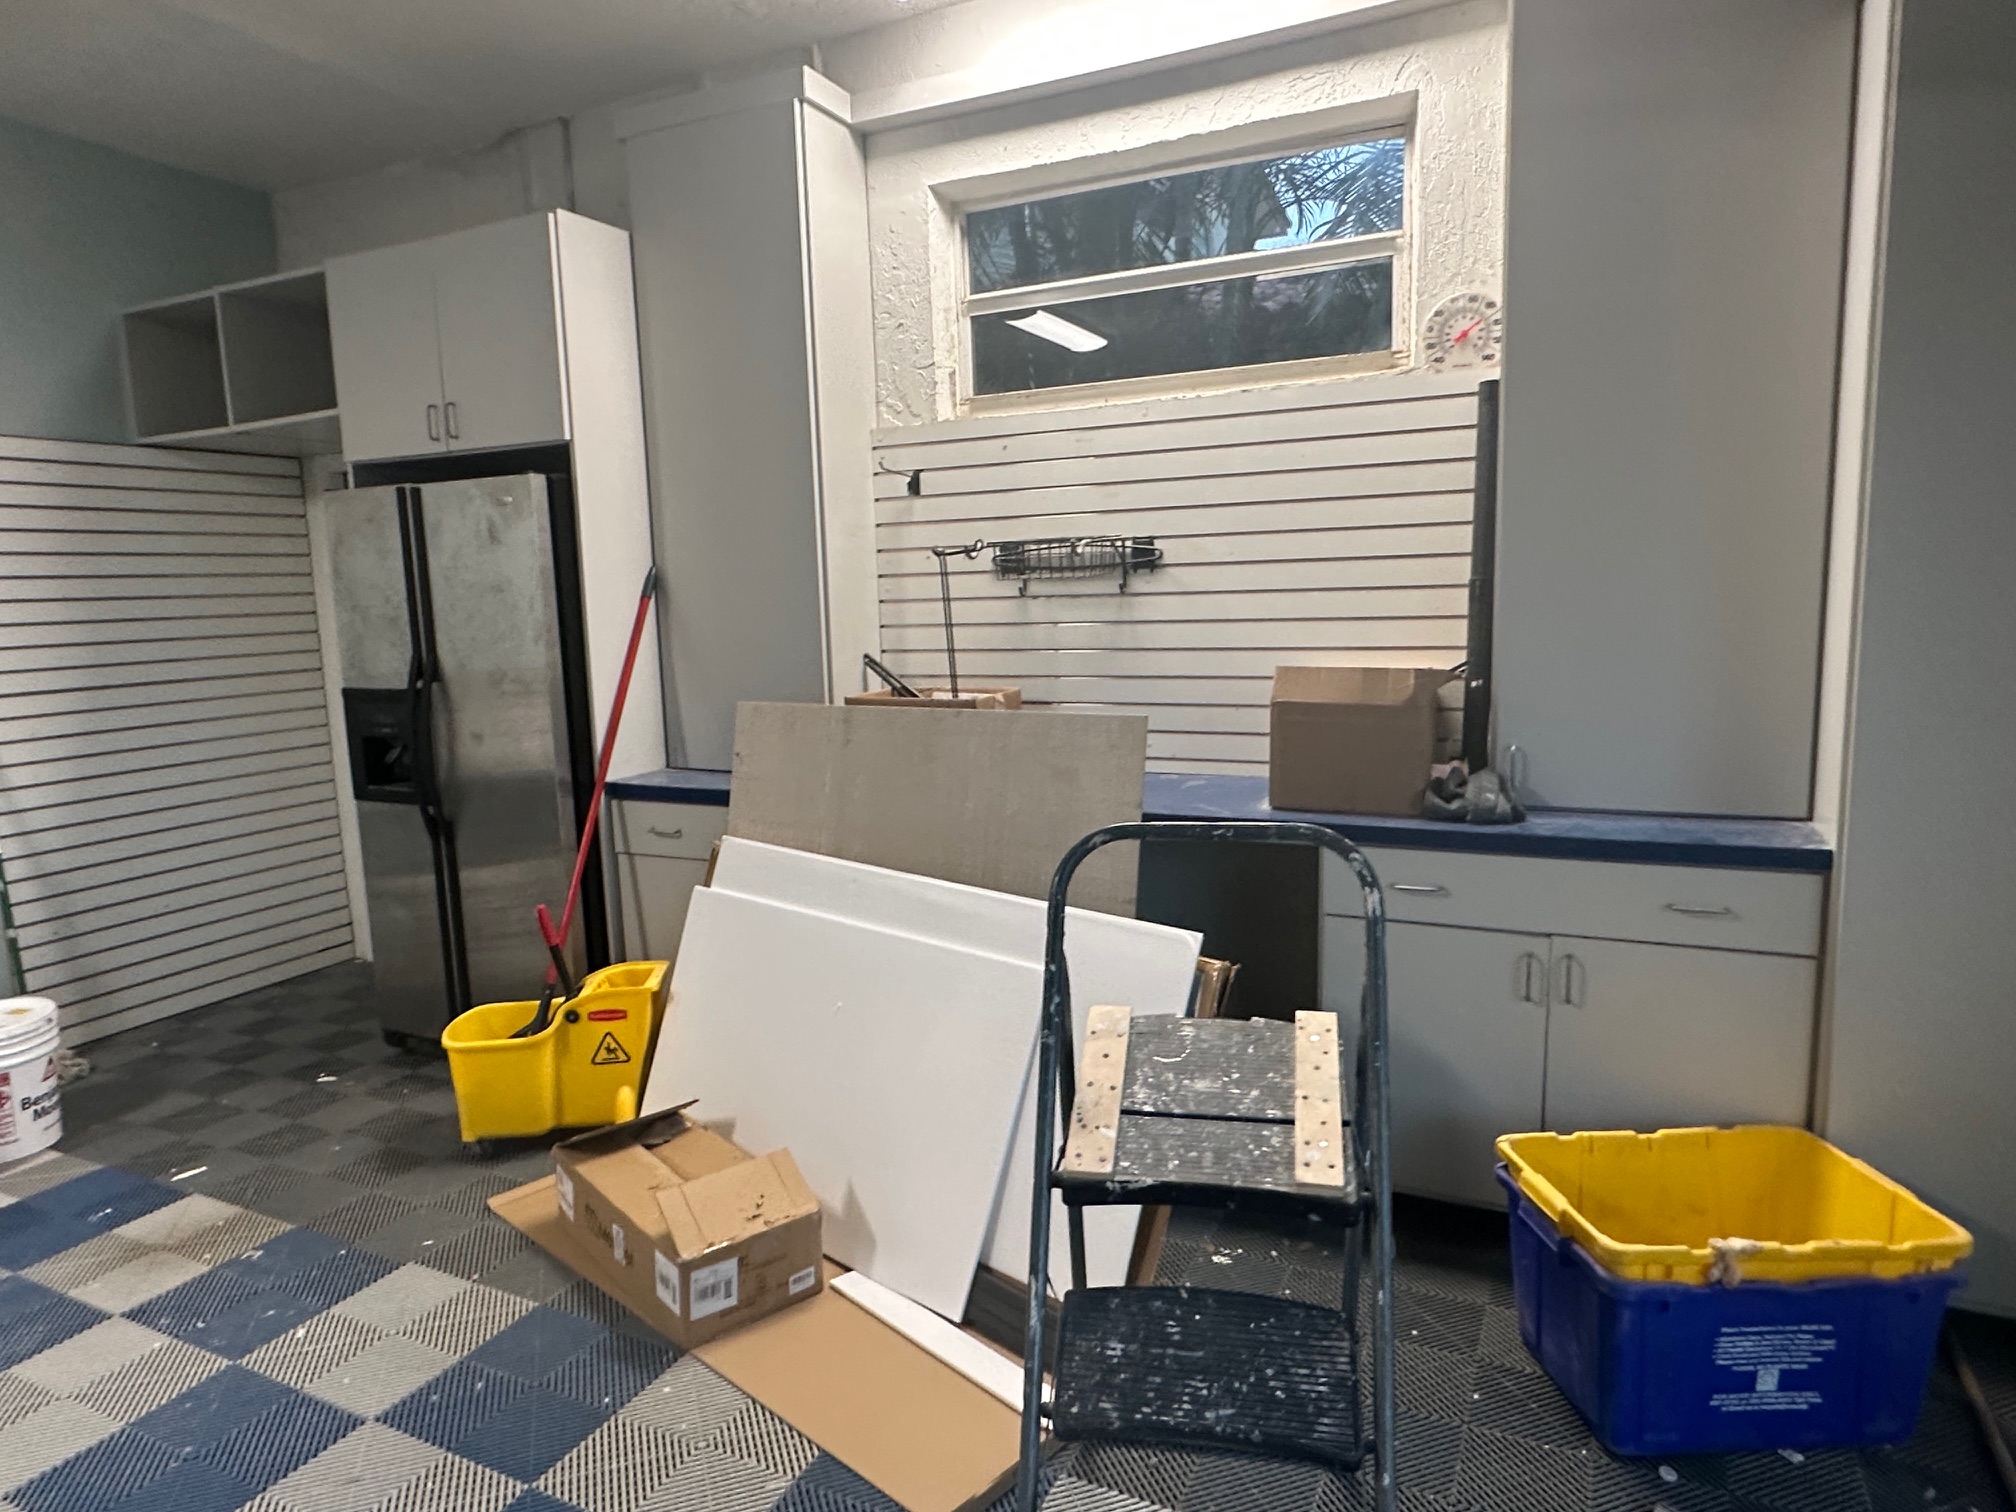
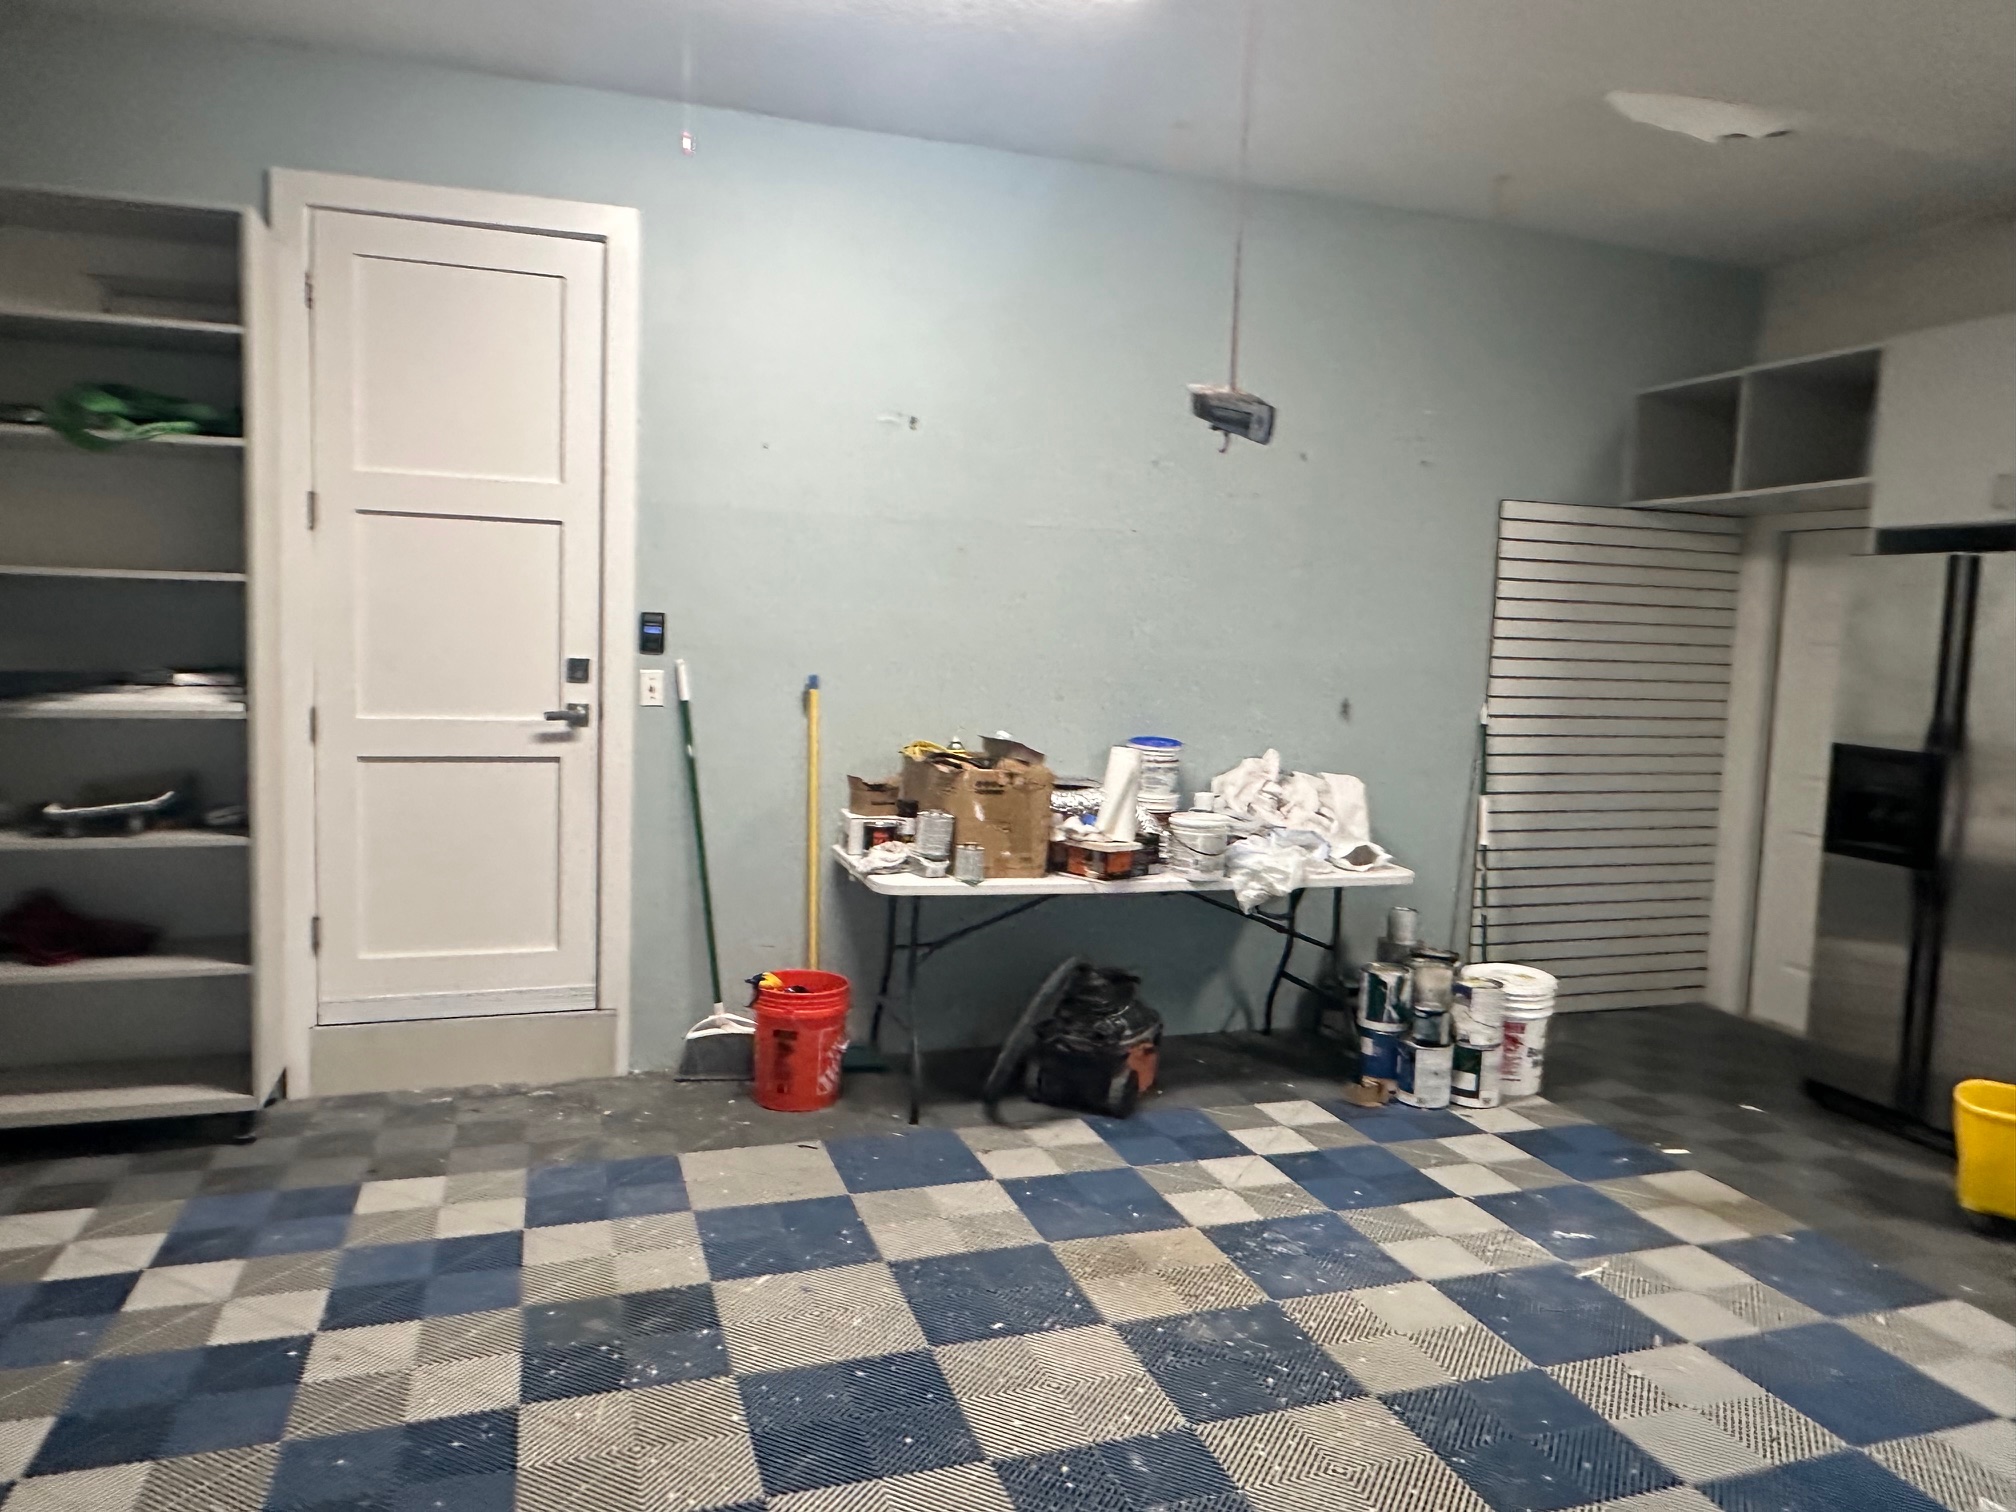
Starting Point: Cluttered Garage
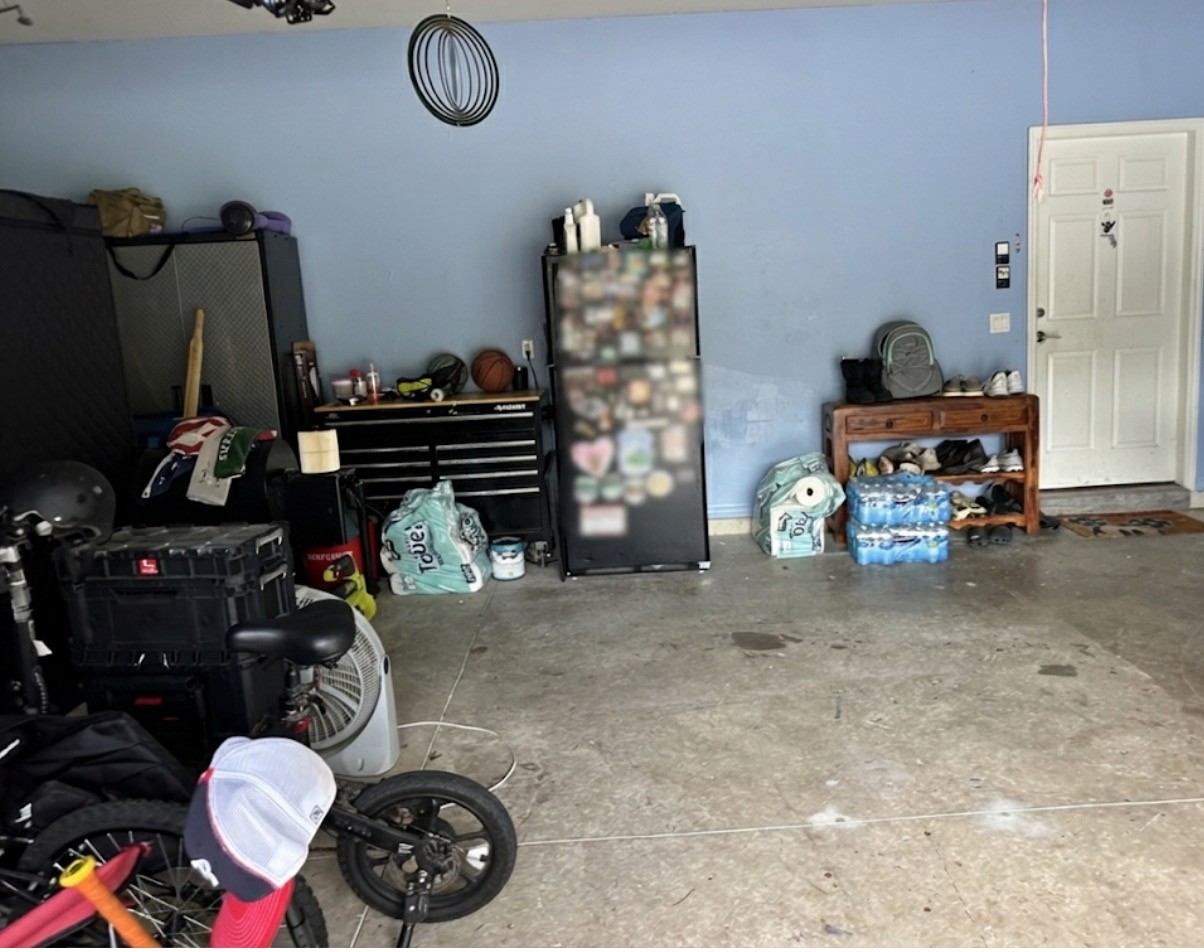
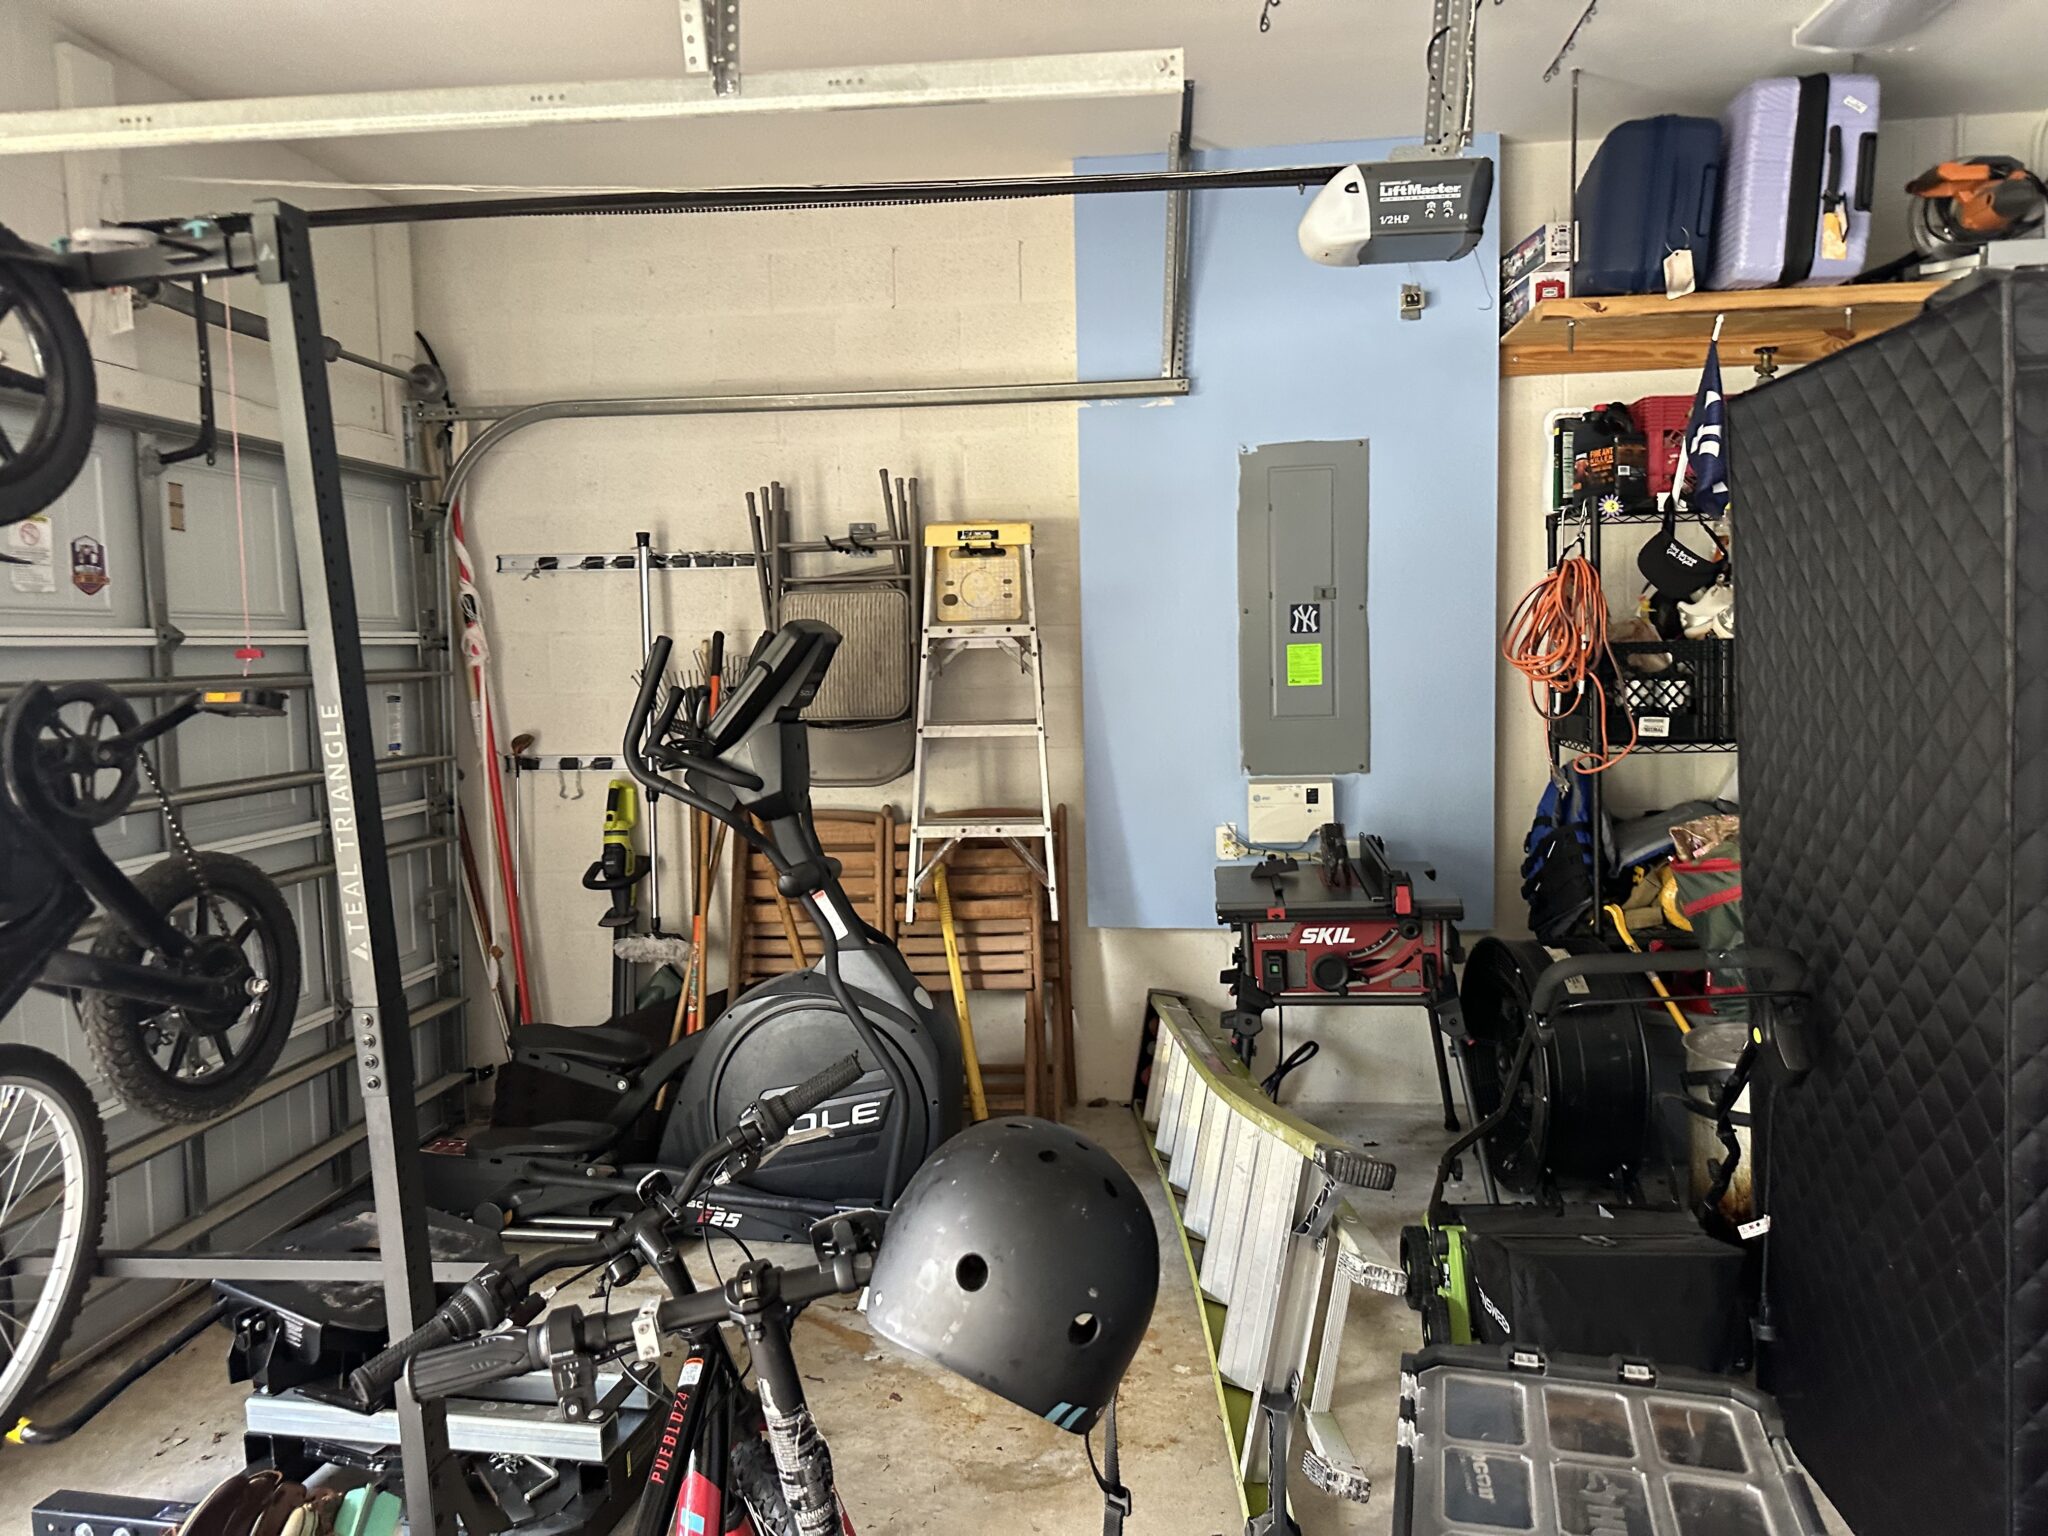
The garage was designed for three cars, but only one car fit comfortably.
The rest of the space was filled with items stored on the floor.
Preparing the Garage: Handling Storage and Belongings
In most projects, we:
- move larger items out
- stage them outside
- protect them with tarps
Customers pack loose items in advance.
For larger storage needs, options include:
Franco chose a U-Haul truck for temporary storage.
Design Goal: Maximum Storage
The focus was simple:
maximize storage and reclaim space.
Full Back Wall Cabinets
- 8-foot cabinets across entire back wall
- upper cabinet above fridge for custom look
Left Wall: Cabinets + Slatwall
- cabinets toward the back
- garage slatwall system toward the front
Used for gardening tools and kids’ items.
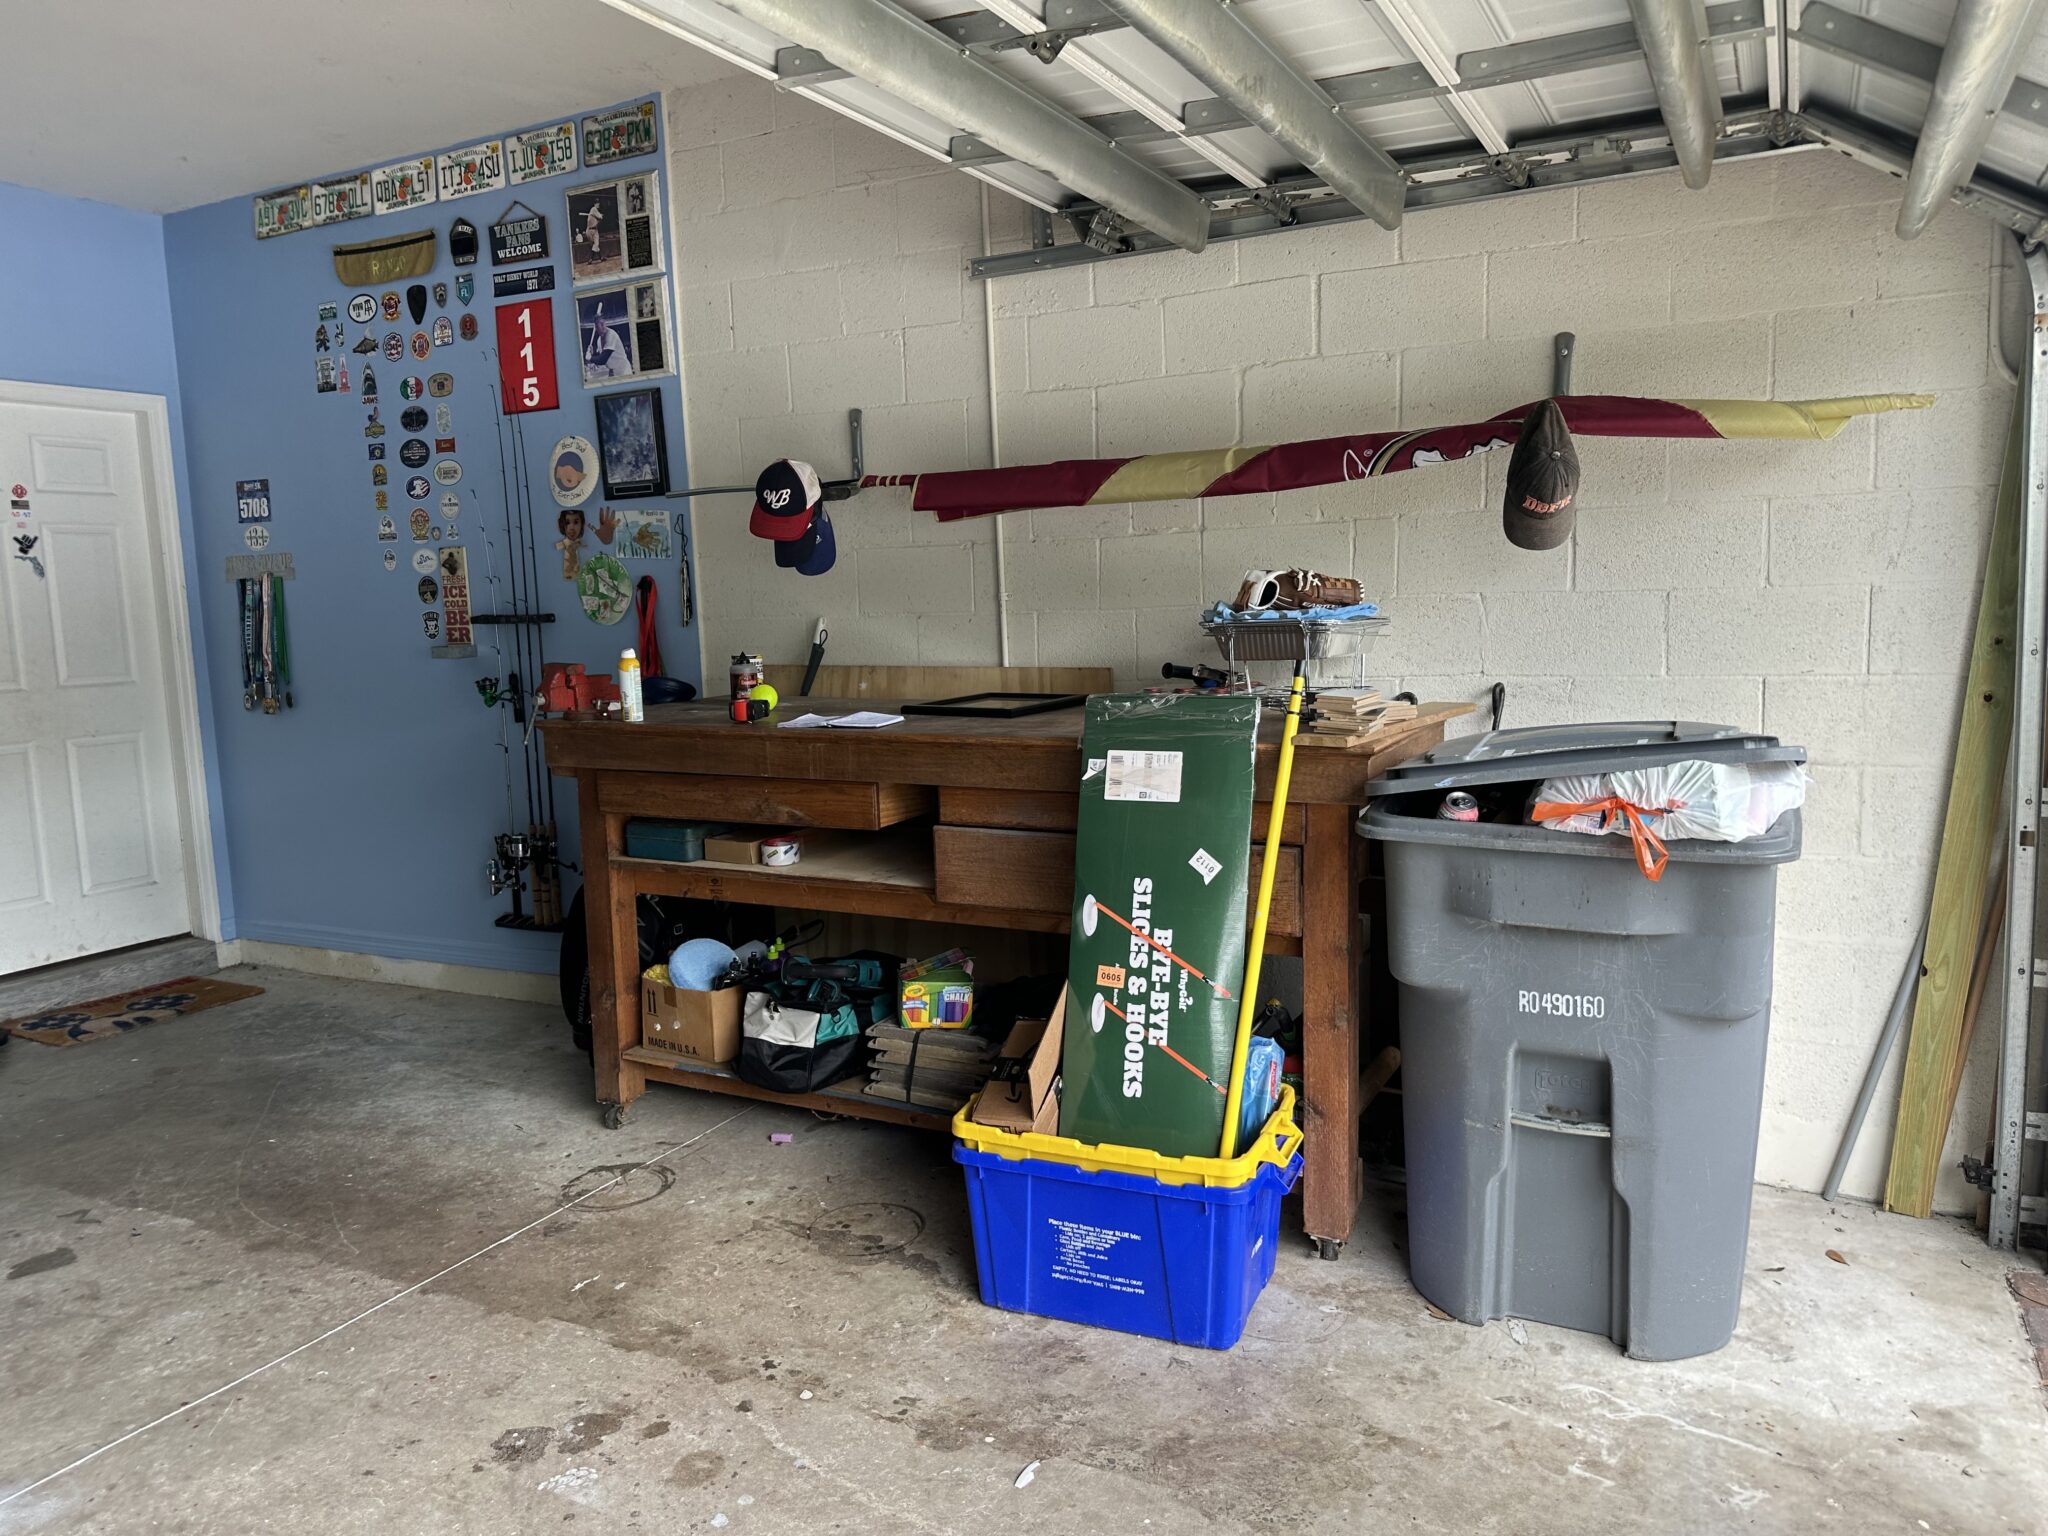
A Special Element: The Workbench
A workbench inherited from Franco’s father was a key part of the design.
We:
- preserved it
- built the layout around it
- added slatwall above it
This created a functional and meaningful workspace.
Overhead Storage Expansion
Two overhead garage storage racks were installed above the garage door.
This provides storage for approximately 20 bins while keeping everything out of sight.
The Result
A clean, organized garage designed for everyday life.
Two Different Garages. One Common Outcome
These two projects may look different, but the goal was the same:
create a garage that works for how the homeowner lives.
Every garage is unique. The right design makes all the difference.
Start Your Own Garage Makeover
A well-designed garage makes everyday life easier.